Paper Pumpkin is turning 3. Wow! How time flies. Right?
I must admit, I still have Paper Pumpkins I haven’t completed yet. But, I really am getting caught up on them. With the help of alternative projects on Facebook and Pinterest. It’s making it so easy to make Paper Pumpkin my own.
With that said, guess what? Everyone who has a Paper Pumpkin subscription will now receive a monthly email around the same time the little red box is delivered. In the email it will give you links to the Paper Pumpkin Facebook, Pinterest, and Instagram pages. You will also get a link to a quick alternative project for your Paper Pumpkin kit and a link to get a refill for your kit if you need more. How cool is that? I love it.
Paper Pumpkin is also having a sale! Check it out below!
Have you ever received your Paper Pumpkin in the mail and, at first sight, think I don’t really like it? I must admit I have been there myself. But, fear not, there is help out there. Yes, there are so many talented Stampers who are thinking outside that pretty red box.
That is what my post is about today. We don’t have to follow directions. We certainly can if we are in love with the project. But, we can change things up a bit. Kinda exciting right? Feeling like a little bit of a rebel? Lol
I want to share with you two friends who thought outside the Paper Pumpkin box. These are friends who I really look up to and admire.
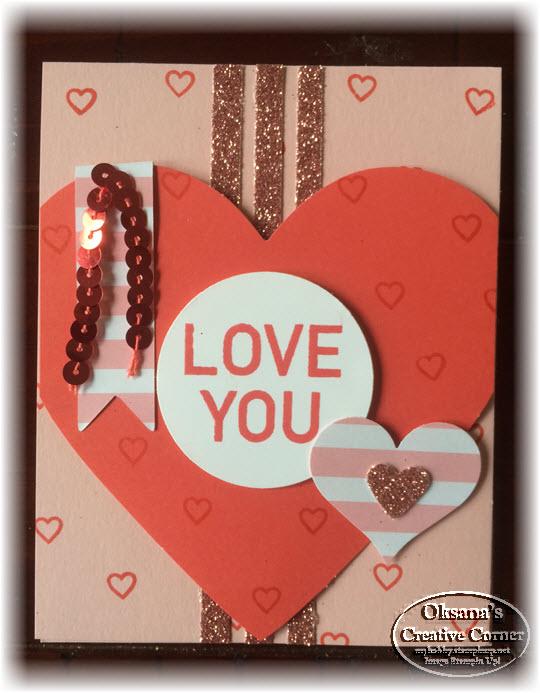
First up is my dear friend, Oksana Semenska, from Oksana’s Creative Corner. Oksana has been my friend for many years, and is who brought me into the wonderful world of Stamping. It took a little coaxing to get me to sign up as a demonstrator and for a while I was a “hobby” demonstrator. But, once again Oksana encouraged me into doing more. I don’t think I would ever have started classes or started a blog if she hadn’t gently pushed me and told me I could do it. I am so thankful she did.
So, here are the projects Oksana came up with, as an alternative, for her January Paper Pumpkin. I think she did a great job! Please head over to her blog and check out more projects she has done. I know you will love them. Click here for Oksana’s Blog
My next friend is Elizabeth Jean Thatcher from Crafts By Happy Stamper. I have actually only met Elizabeth in person once. It was at the Leadership Convention in Orlando. We actually got to go on stage together for getting a title promotion. I was so thankful to have someone to go up there with. Lol Along with Oksana, we are a part of Tami White’s Team Stamp It group and Elizabeth has also helped me with my blog. I didn’t understand the whole “blog hop permalink thing”. Elizabeth was kind enough to talk me through it. I still have my piece of paper I was frantically writing notes on, as she was explaining permalinks to me. It’s my safety net when doing blog hops. Lol.
Here are the alternative projects Elizabeth has come up with. She also has a video tutorial showing how to make the absolutely adorable mailbox. How do you come up with this stuff Elizabeth? Please head over to her blog, where you can download a free template to make the mailbox and check out more awesome projects and videos. Subscribe and like her YouTube channel so you won’t miss any videos. Click here for Elizabeth’s Blog
One more awesome place to find great alternative Paper Pumpkin ideas is the Facebook group PAPER PUMPKIN FAN CLUB. Tons of talented crafters share their alternative ideas for our much loved Paper Pumpkin
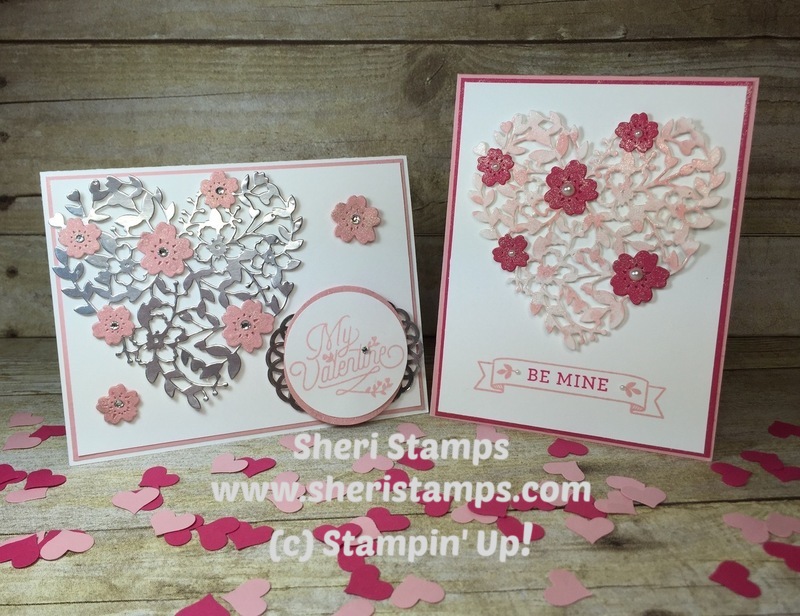
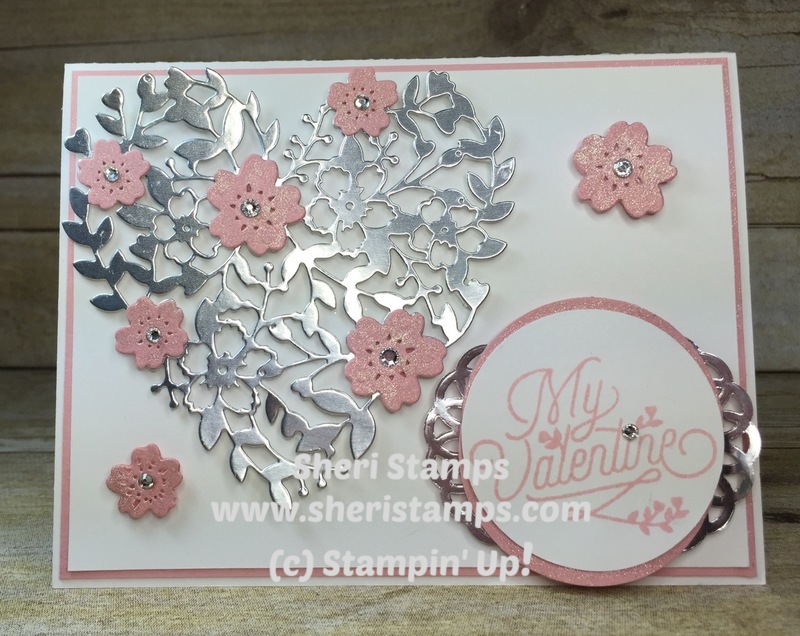
I cut out the, so delicate, silver heart with Silver Foil Sheets. It cuts so beautifully on the Big Shot, using the Precision Base Plate. The flowers are Blushing Bride card stock. I covered them with Wink of Stella as well. I stamped the sentiment on Whisper White Card stock with the Blushing Bride Ink Pad and punched it out with 2″ Circle Punch. I also used the same punch to punch a blushing bride circle. I cut it in half and used my Wink of Stella around the edges. I then layered it behind my sentiment at the top and bottom. I felt I needed more silver to I cut a Silver Metallic Foil Doilie in half and layered it behind the sentiment as well. I used Stampin’ Dimensionals to make everything pop.
I just love how the Wink of Stella makes everything sparkle. I am obsessed with this stuff.
A close up so you can see how pretty the Silver Foil and Blushing Bride, covered in Wink of Stella, are.
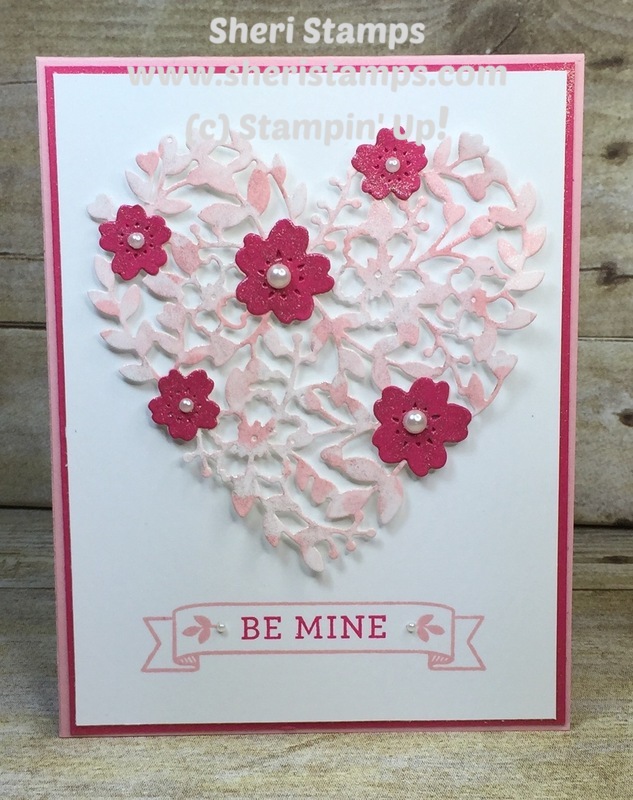
The heart actually came about by accident. I was using my Hearts Decorative Mask on Whisper White Cardstock, applying Blushing Bride Ink with a Sponge Dauber. I tried and tried to work it into a card and it just did not work. I was going to just toss it aside and thought hmmm it might look neat cut out with the Bloomin’ Heart Thinlits Die. I liked it but it needed something. So, I lightly sponged it with Blushing Bride Ink to get a tone on tone look. Then I thought, heck, I have covered everything else with Wink of Stella I might as well do this heart too. The flowers are Melon Mambo Cardstock covered with, you guessed it, Wink of Stella and finished off with pearls in the center. I again applied the heart with dimensionals to make it pop.
Here is a close up of the heart so you can see the tone on tone color and how the Wink of Stella just makes it extra special
I hope you enjoyed my cards today. A complete list of supplies for each card will be listed at the bottom of this post.
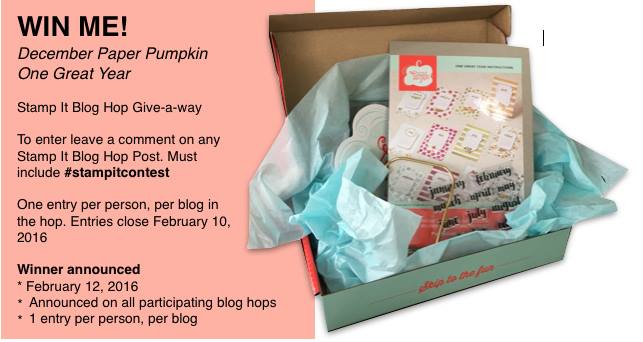
Tami White has once again offered up an awesome giveaway. Please leave me a comment and add #stampitcontest to it. Comment on all the blogs for more chances to win.
Next up in the hop is Teresa Howe’s Blog. I can’t wait to see what she has created for us today.